Today, I have provided an article showing you how to Insert, Edit, Update and Delete Data with DataGridView in Windows Form Using WCF Service from C# code. To Insert, Edit, Update and Delete Data with DataGridView, we must do the following 3 things:
- Create Database Table
- Create WCF Service
- Create Windows Forms Application
In the first step we will create a table in SQL Server; after that we create a simple function to insert, update and delete data in a DataGridView control using a WCF service. In a web application, add a reference of the service to do the insert, update and delete in the DataGridView control. Let's take a look at a practical example. The example application is developed in Visual Studio 2010 and SQL Server 2008.
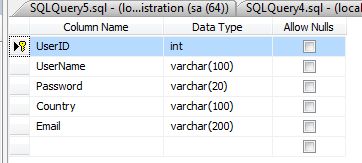
Step 1: Creating Database Table
- Database name: Registration
- Database table name: RegistrationTable
RegistrationTable Table
Step 2: Creating WCF Service
Now you have to create a WCF Service:
- Go to Visual Studio 2010
- New -> Select a project
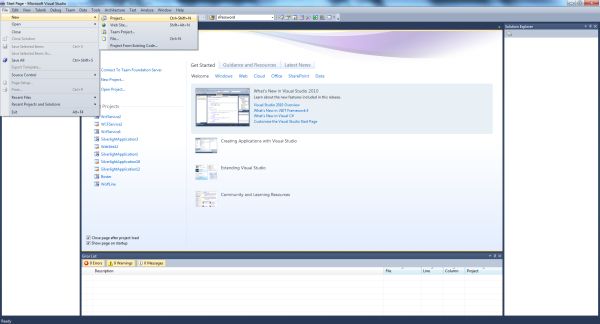
Now click on the project and select WCF Service Application and provide a name for the service:
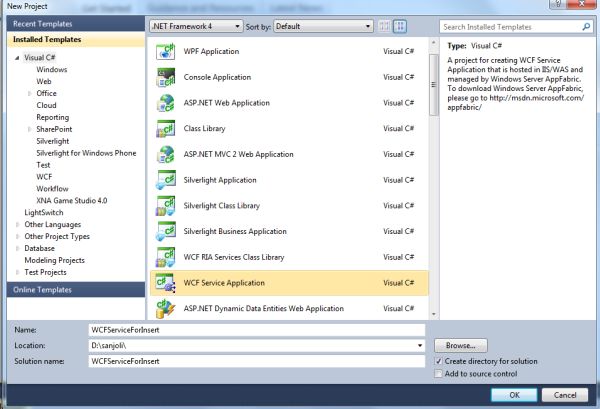
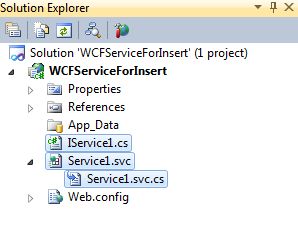
Now click on the Ok Button. Then you will get the following 3 files in Solution Explorer:
- IService.cs
- Service.svc
- Service.svc.cs
The following image shows the following files:
For inserting data into the database you need to write the following code in the IService1.cs file which contains the two sections:
- OperationContract
- DataContract
The OperationContract section is used to add service operations and a DataContract is used to add types to the service operations.
Iservice1.cs File
Now we create a function in the OperationContract section of the Iservice1.cs file:
using System;
using System.Collections.Generic;
using System.Linq;
using System.Runtime.Serialization;
using System.ServiceModel;
using System.ServiceModel.Web;
using System.Text;
using System.Data.SqlClient;
using System.Data;
namespace WCFServiceForInsert
{
// NOTE: You can use the "Rename" command on the "Refactor" menu to change the interface name "IService1" in both code and config file together.
[ServiceContract]
public interface IService1
{
[OperationContract]
string InsertUserDetails(UserDetails userInfo);
[OperationContract]
DataSet SelectUserDetails();
[OperationContract]
bool DeleteUserDetails(UserDetails userInfo);
[OperationContract]
void UpdateRegistrationTable(UserDetails userInfo);
}
// Use a data contract as illustrated in the sample below to add composite types to service operations.
[DataContract]
public class UserDetails
{
int userid;
string username;
string password;
string country;
string email;
[DataMember]
public int UserID
{
get { return userid; }
set { userid = value; }
}
[DataMember]
public string UserName
{
get { return username; }
set { username = value; }
}
[DataMember]
public string Password
{
get { return password; }
set { password = value; }
}
[DataMember]
public string Country
{
get { return country; }
set { country = value; }
}
[DataMember]
public string Email
{
get { return email; }
set { email = value; }
}
}
}
Service.svc.cs File
In this file we define the definition of the functions for insert, update and delete.
And replace the code with the following:
using System;
using System.Collections.Generic;
using System.Linq;
using System.Runtime.Serialization;
using System.ServiceModel;
using System.ServiceModel.Web;
using System.Text;
using System.Data.SqlClient;
using System.Data;
namespace WCFServiceForInsert
{
public class Service1 : IService1
{
public DataSet SelectUserDetails()
{
SqlConnection con = new SqlConnection("Data Source=.;Initial Catalog=registration;User ID=sa;Password=wintellect");
con.Open();
SqlCommand cmd = new SqlCommand("Select * from RegistrationTable", con);
SqlDataAdapter sda = new SqlDataAdapter(cmd);
DataSet ds = new DataSet();
sda.Fill(ds);
cmd.ExecuteNonQuery();
con.Close();
return ds;
}
public void UpdateRegistrationTable(UserDetails userInfo)
{
SqlConnection con = new SqlConnection("Data Source=.;Initial Catalog=registration;User ID=sa;Password=wintellect");
con.Open();
SqlCommand cmd = new SqlCommand("update RegistrationTable set UserName=@UserName,Password=@Password,Country=@Country, Email=@Email where UserID=@UserID", con);
cmd.Parameters.AddWithValue("@UserID", userInfo.UserID);
cmd.Parameters.AddWithValue("@UserName", userInfo.UserName);
cmd.Parameters.AddWithValue("@Password", userInfo.Password);
cmd.Parameters.AddWithValue("@Country", userInfo.Country);
cmd.Parameters.AddWithValue("@Email", userInfo.Email);
cmd.ExecuteNonQuery();
con.Close();
}
public bool DeleteUserDetails(UserDetails userInfo)
{
SqlConnection con = new SqlConnection("Data Source=.;Initial Catalog=registration;User ID=sa;Password=wintellect");
con.Open();
SqlCommand cmd = new SqlCommand("delete from RegistrationTable where UserID=@UserID", con);
cmd.Parameters.AddWithValue("@UserID", userInfo.UserID);
cmd.ExecuteNonQuery();
con.Close();
return true;
}
public string InsertUserDetails(UserDetails userInfo)
{
string Message;
SqlConnection con = new SqlConnection("Data Source=.;Initial Catalog=registration;User ID=sa;Password=wintellect");
con.Open();
SqlCommand cmd = new SqlCommand("insert into RegistrationTable(UserName,Password,Country,Email) values(@UserName,@Password,@Country,@Email)", con);
cmd.Parameters.AddWithValue("@UserName", userInfo.UserName);
cmd.Parameters.AddWithValue("@Password", userInfo.Password);
cmd.Parameters.AddWithValue("@Country", userInfo.Country);
cmd.Parameters.AddWithValue("@Email", userInfo.Email);
int result = cmd.ExecuteNonQuery();
if (result == 1)
{
Message = userInfo.UserName + " Details inserted successfully";
}
else
{
Message = userInfo.UserName + " Details not inserted successfully";
}
con.Close();
return Message;
}
}
}
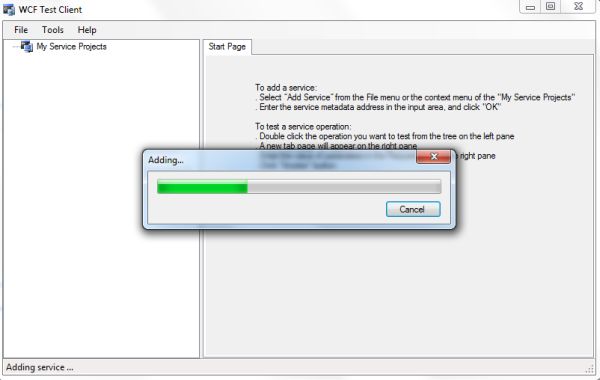
Testing the Service
Press F5 to run the service. A WCF Test Client form will be displayed and it will load the service.
Now double-click the InserUserDetails() method under IService1. The InserUserDetails tab will be displayed.

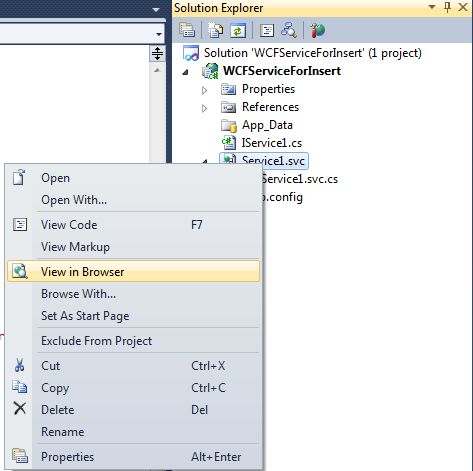
The service was added successfully. Now open the service in the browser.
Now right-click on the service1.vcs -> open in the browser:
Now copy the URL:
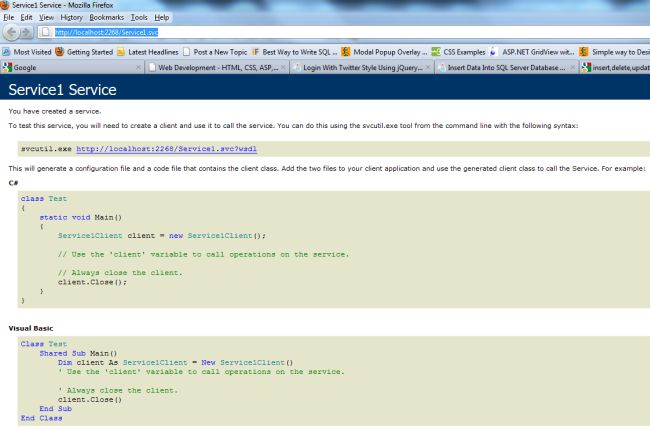
URL
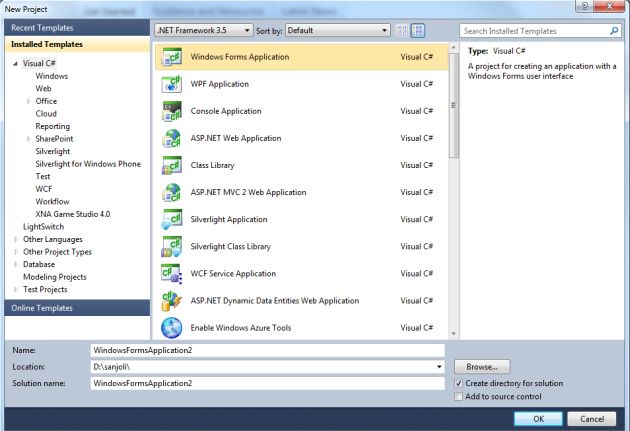
Step 3: Create Windows Forms Application (Accessing the Service)
Now, you have to create a Windows Forms Application.
- Go to Visual Studio 2010
- New-> Select a project-> Windows Forms Application
- Click OK
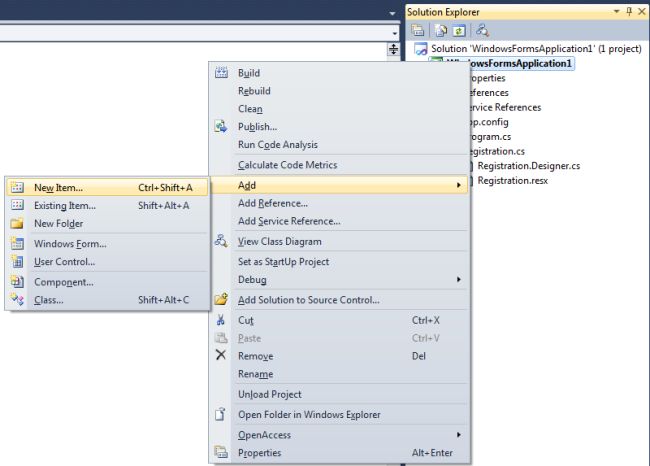
Now add a new page to the website:
- Go to the Solution Explorer
- Right-click on the Project name
- Select add new item
- Add new windows form and give it a name
- Click OK
Now again go to the Solution Explorer and click on the add the service reference:
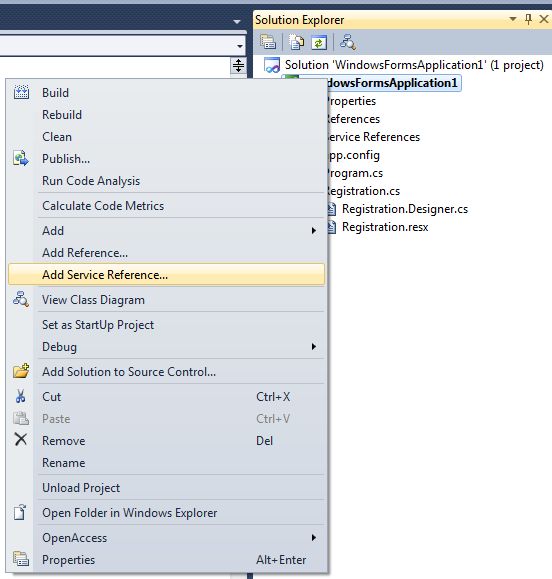
The following window will be opened:
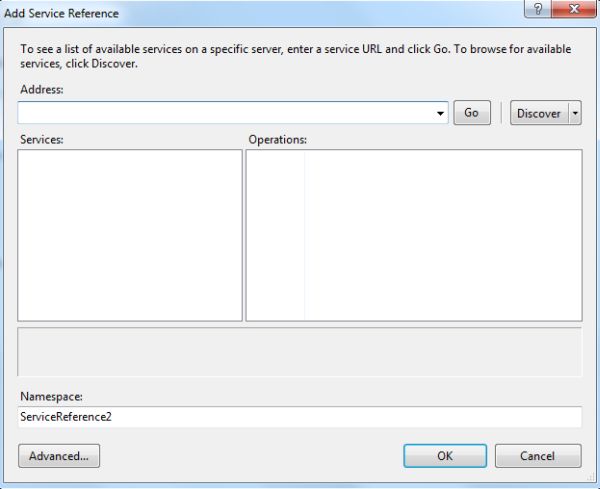
Now paste the above URL in the address and click on the go Button:
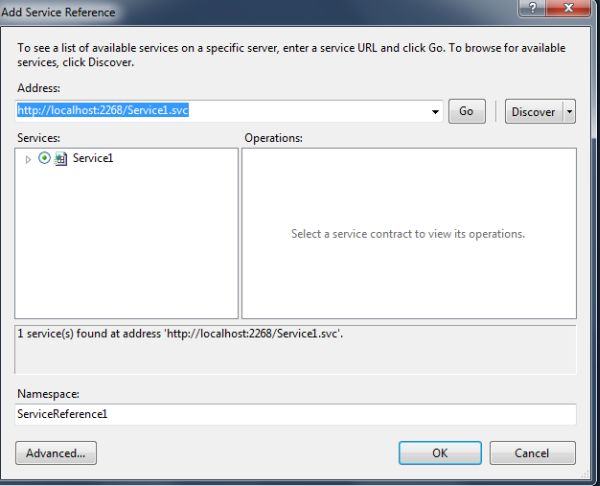
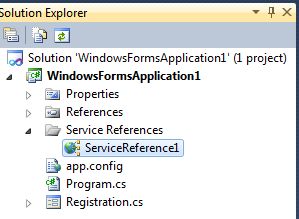
Click on the Ok Button. Now the reference has been added in the Solution Explorer.
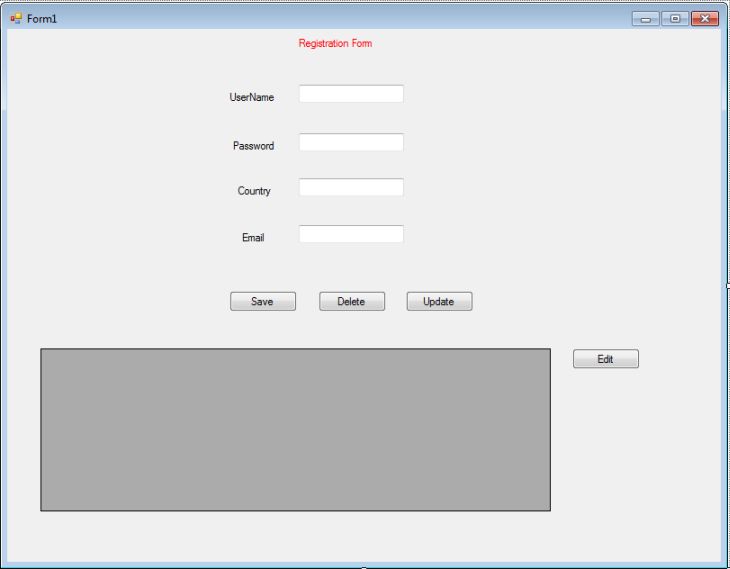
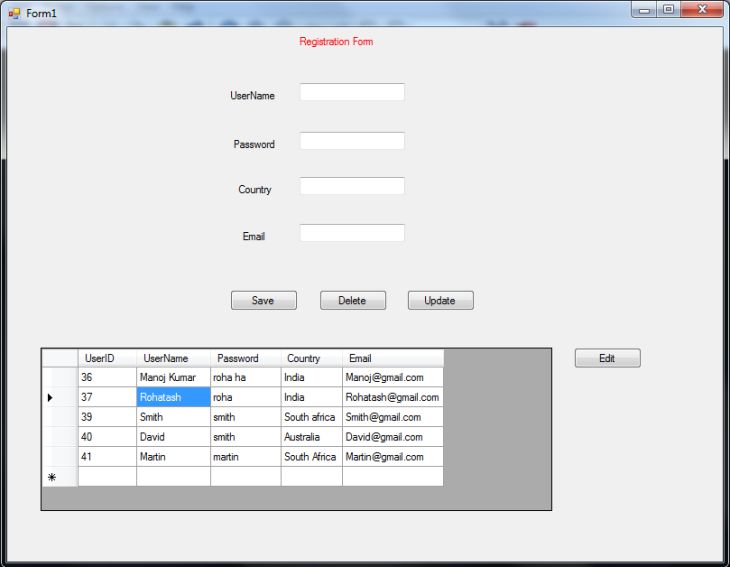
Now create a new Windows Form and drag and drop controls onto the Windows Form. Thedesigning form looks like below:
Double-click on the every Button, and add the following code with the click event handler:
using System;
using System.Collections.Generic;
using System.ComponentModel;
using System.Data;
using System.Drawing;
using System.Linq;
using System.Text;
using System.Windows.Forms;
using System.ServiceModel;
namespace WindowsFormsApplication1
{
public partial class Registration : Form
{
ServiceReference1.Service1Client objService = new ServiceReference1.Service1Client(); // Add service reference
public Registration()
{
InitializeComponent();
showdata();
}
private void showdata() // To show the data in the DataGridView
{
DataSet ds = new DataSet();
ds = objService.SelectUserDetails();
dataGridView1.DataSource = ds.Tables[0];
dataGridView1.AutoResizeColumns(DataGridViewAutoSizeColumnsMode.AllCells);
}
private void button1_Click(object sender, EventArgs e)
{
ServiceReference1.UserDetails objuserdetail = new ServiceReference1.UserDetails(); // Add type reference
objuserdetail.UserName = textBoxUserName.Text;
objuserdetail.Password = textBoxPassword.Text;
objuserdetail.Country = textBoxCountry.Text;
objuserdetail.Email = textBoxEmail.Text;
objService.InsertUserDetails(objuserdetail); // To insert the data
showdata();
}
private void button2_Click(object sender, EventArgs e)
{
ServiceReference1.UserDetails objuserdetail = new ServiceReference1.UserDetails();
if (dataGridView1.Rows.Count > 1)
{
DataTable dt = new DataTable();
objuserdetail.UserID = (int)dataGridView1.CurrentRow.Cells[0].Value;
objService.DeleteUserDetails(objuserdetail); // To Delete the data
showdata();
}
}
private void Registration_Load(object sender, EventArgs e)
{
}
private void button3_Click(object sender, EventArgs e)
{
int i = dataGridView1.SelectedCells[0].RowIndex;
textBoxUserName.Text = dataGridView1.Rows[i].Cells[1].Value.ToString();
textBoxPassword.Text = dataGridView1.Rows[i].Cells[2].Value.ToString();
textBoxCountry.Text = dataGridView1.Rows[i].Cells[3].Value.ToString();
textBoxEmail.Text = dataGridView1.Rows[i].Cells[4].Value.ToString();
}
private void button4_Click(object sender, EventArgs e)
{
ServiceReference1.UserDetails objuserdetail = new ServiceReference1.UserDetails();
objuserdetail.UserID = (int)dataGridView1.CurrentRow.Cells[0].Value;
objuserdetail.UserName = textBoxUserName.Text;
objuserdetail.Password = textBoxPassword.Text;
objuserdetail.Country = textBoxCountry.Text;
objuserdetail.Email = textBoxEmail.Text;
objService.UpdateRegistrationTable(objuserdetail); // To Update the Data
showdata();
textBoxUserName.Text = "";
textBoxPassword.Text = "";
textBoxCountry.Text = "";
textBoxEmail.Text = "";
}
}
}
Now run the application
Press CTRL+F5 to run the application:
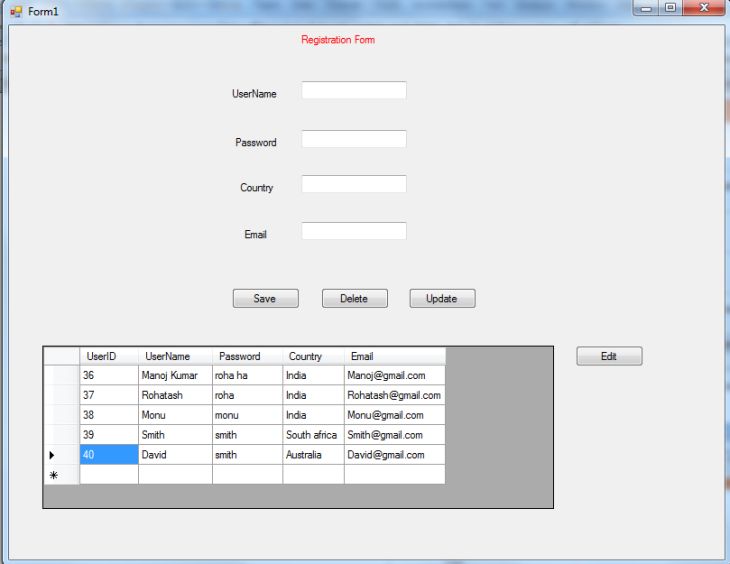
Now enter the UserName, Password, Country and Email and click on the save Button:
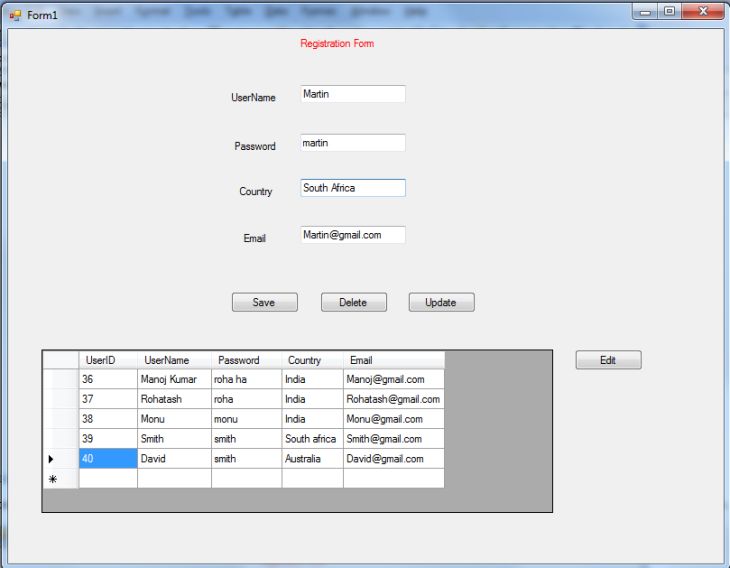
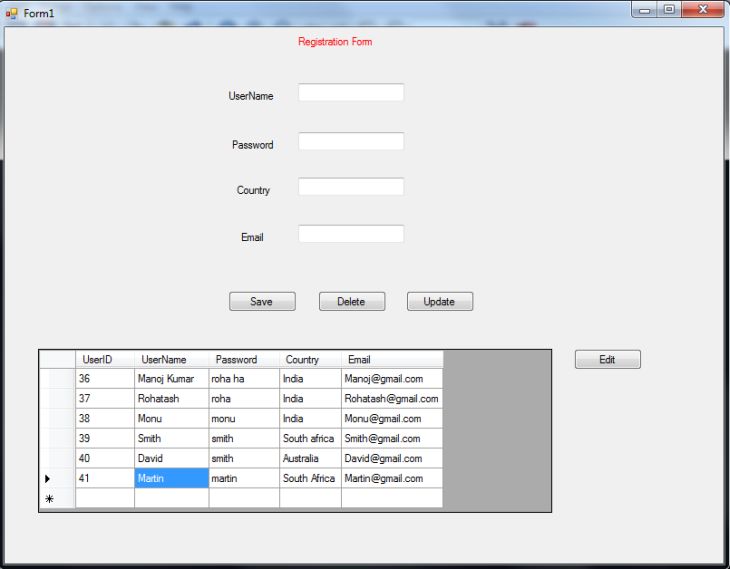
Now click on the save Button. Data will be saved in the database table and also displayed in the DataGridView on the form.
Now select a row from the DataGridView. Suppose we selected a row which has the UserName monu and the userID 38.
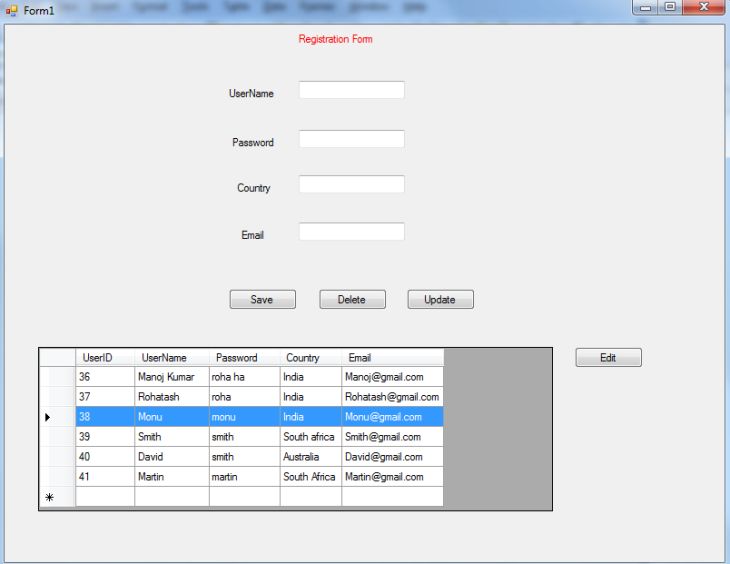
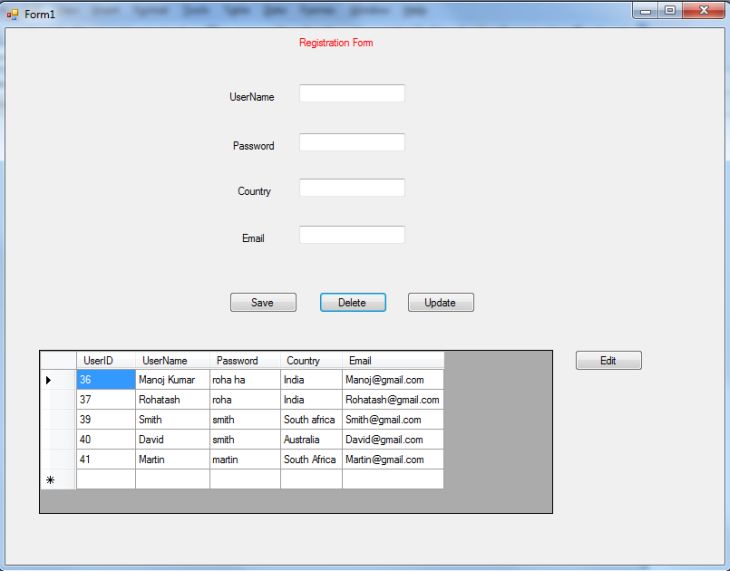
Now click on the Delete Button to delete the row from the DataGridView and database:
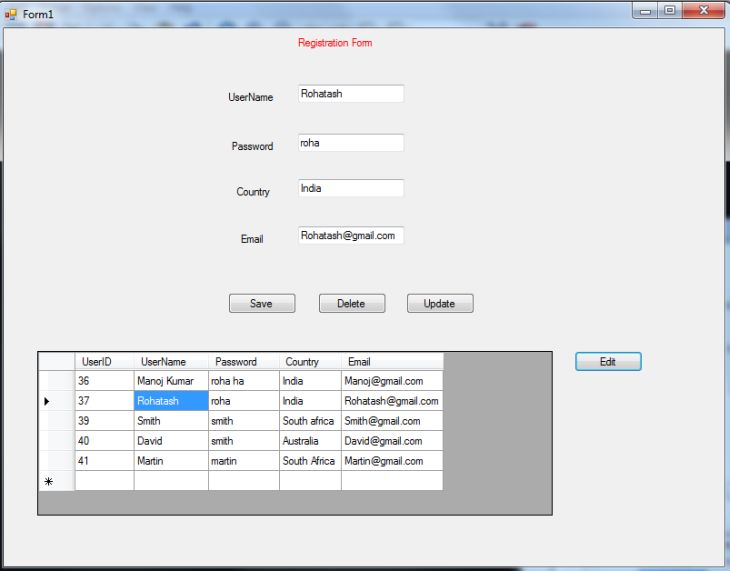
Now select a row from the DataGridView. Suppose we selected a row which has the UserName Rohatash:
Now click on the edit Button to display row data in the TextBoxes to update:
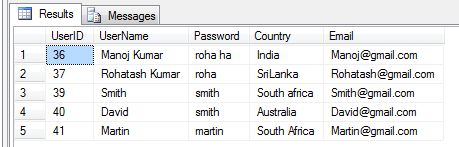
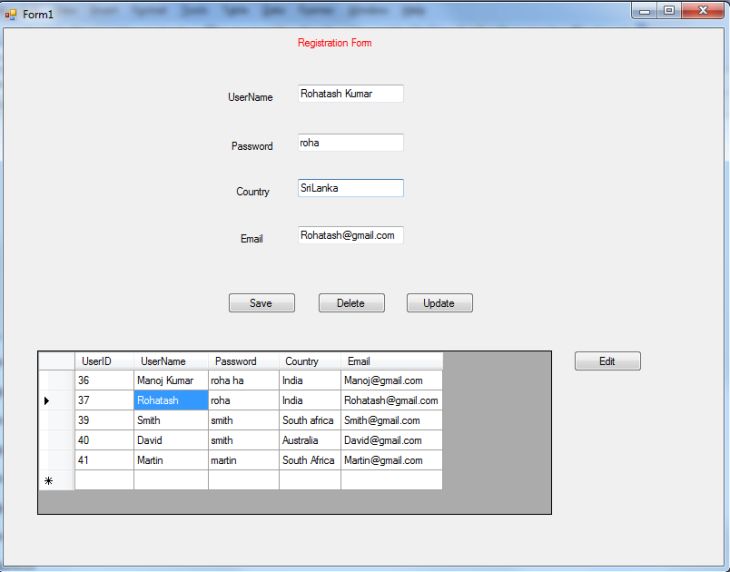
Now replace UserName Rohatash with Rohatash kumar and change the country India to SriLanka:
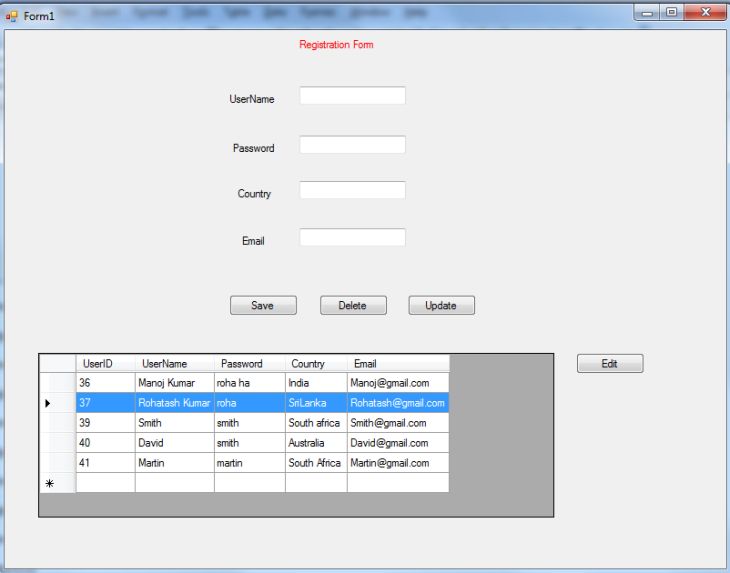
Now click on the Update Button to update the data in the DataGridView and the Database table. The updated row looks as in the following image:
The data has been inserted into the SQL Server database table; check it: